Loadbearing Strawbale Building
These are pictures of a workshop/course I helped Simon pratt to teach, to build a strawbale building in the shape of a fish, in a very small back yard in Oxford, started with a group of volunteers in April 2003, and during a second workshop I led on Lime rendering in June 2003 and then finished by Viv and her team
Sincere thanks to Adrian Windisch for the photo'sClick on the images for larger pictures.
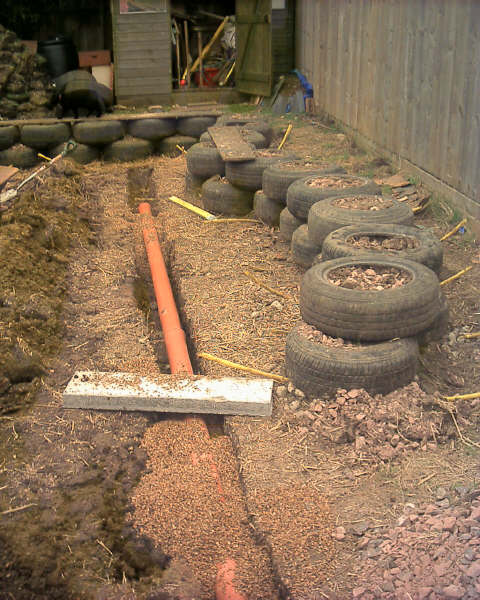
A foundation had already been made using old car tyres rammed with earth and type 1 roadstone.

Stuffing the roofplate(RBA) with straw and glueing and screwing the lids on.
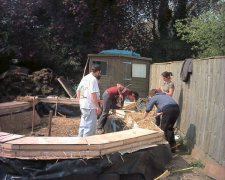
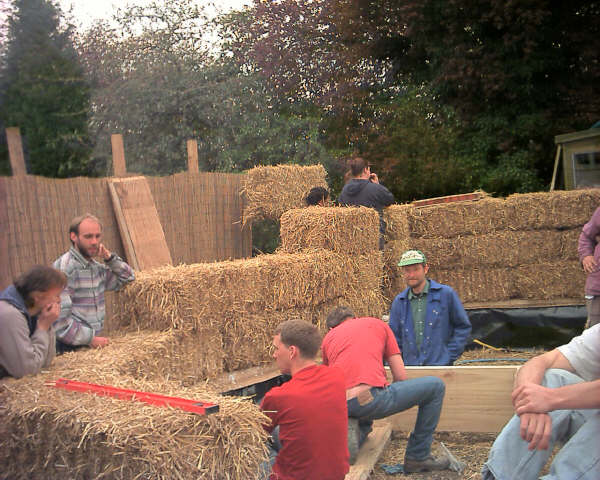
Up to three courses in position.

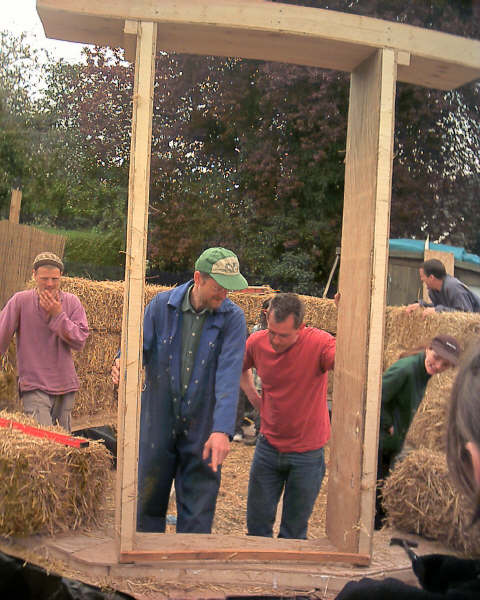
Now it's time to position the door.

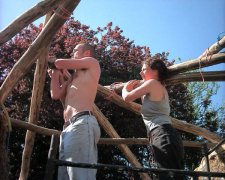
Simon Pratt was the other workshop leader on this build, here he is demonstrating the technical process of curving bales!
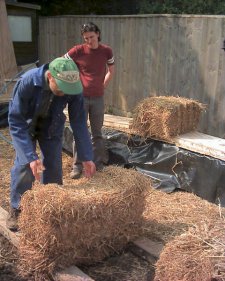
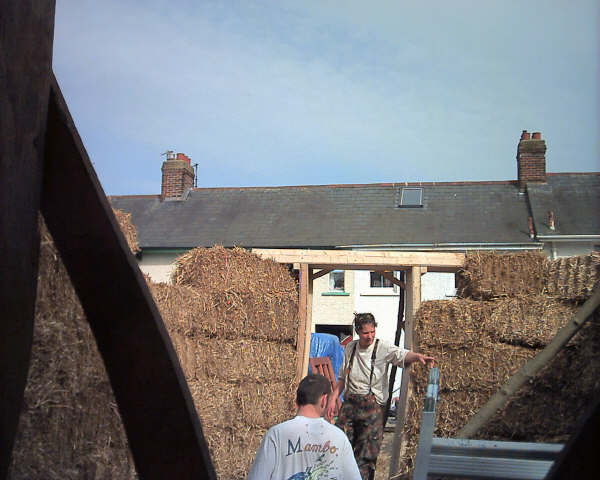
The owner Vivien, making sure all is correct and that everyone is happy.
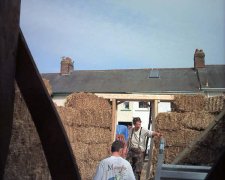
Nearly all bales in position, almost ready for a haircut.
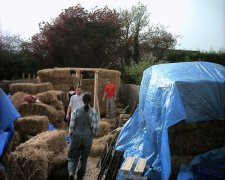
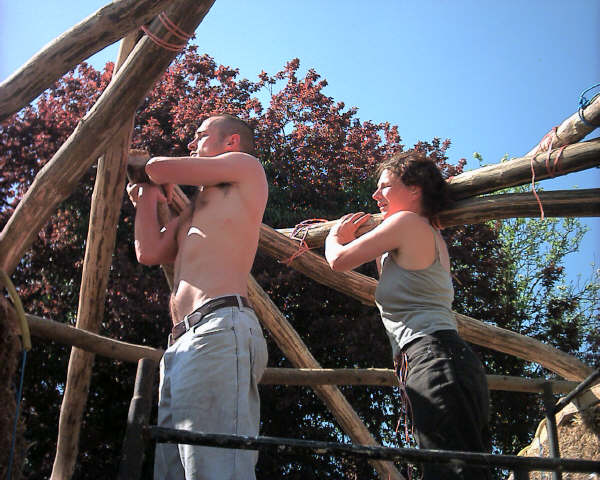
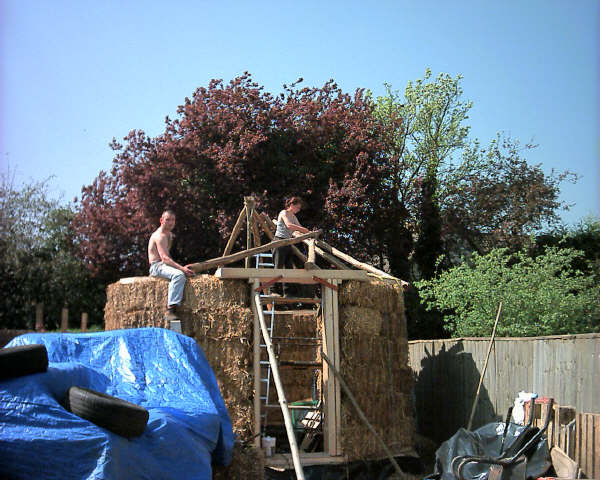
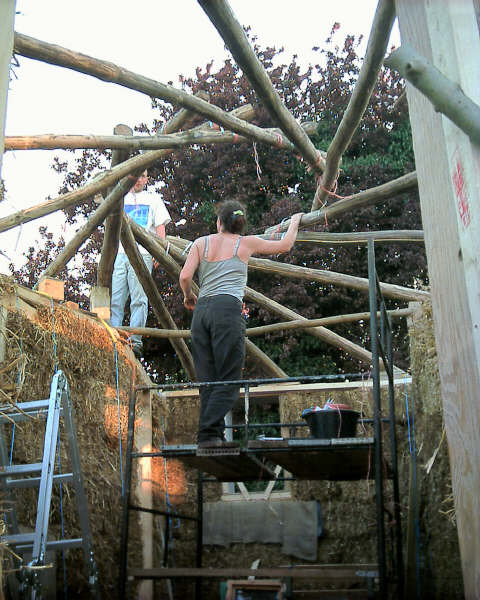
Next job was to erect the reciprocal(self supporting) roofs thirteen main members.
The positioning of the 13 reciprocal roof beams was very tricky and took some sussing out.

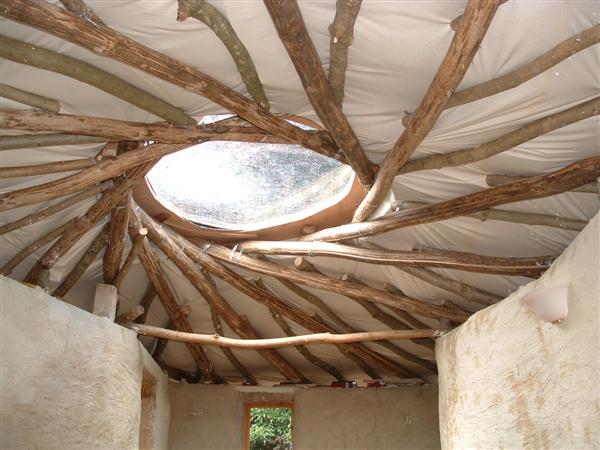
A view from inside showing the lovely reciprocal roof.

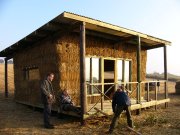
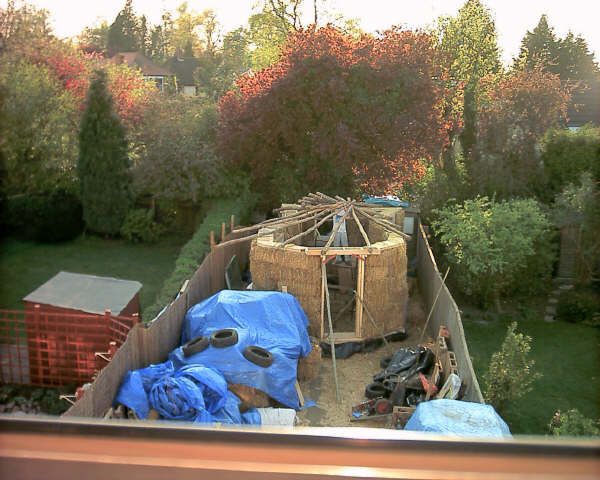
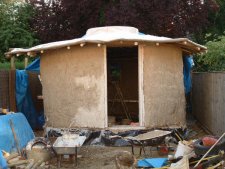
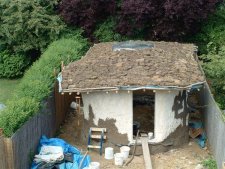
This picture is taken from the bedroom, you can just make out the buildings fish shape.

A cob mix was made to fill any holes and gaps, Viv used her feet for the job of mixing, more fun than a shovel!

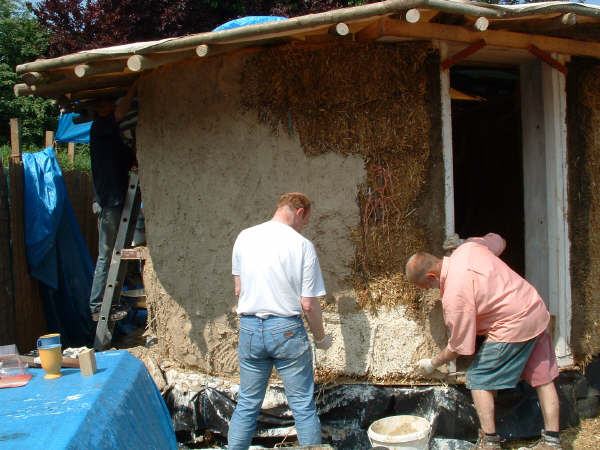
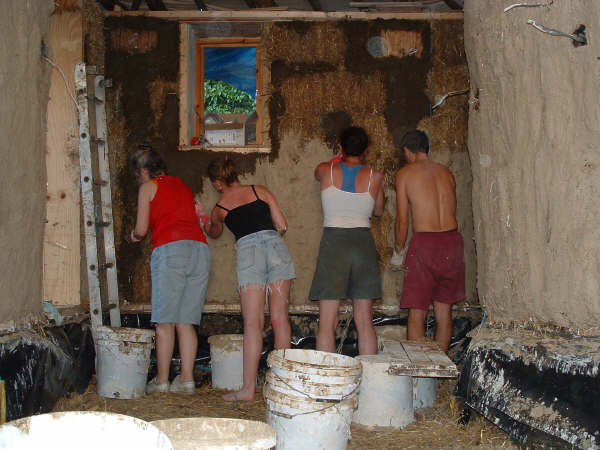
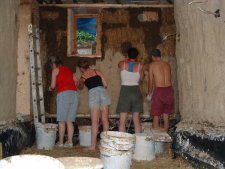
The scratch coat being applied with rubber gloved hands, lovely.

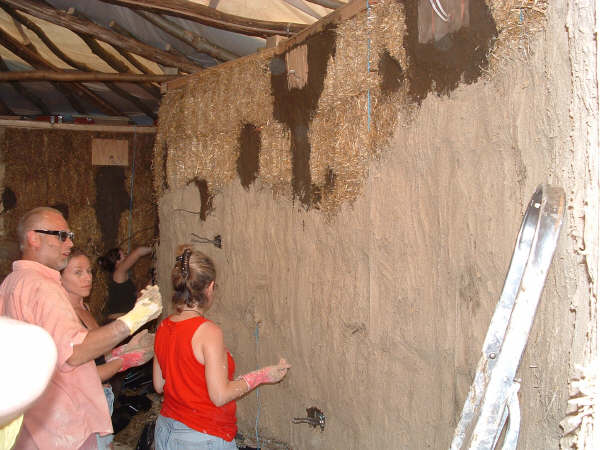
Scratch coat on the inside, with cobbed areas clearly visible, check out the limefreak in pink n shades!

The last wall is nearly finished, Many hands make light work.
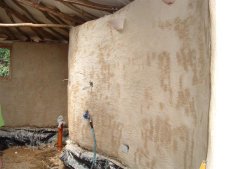
Scratch coat finished.
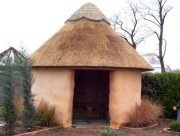
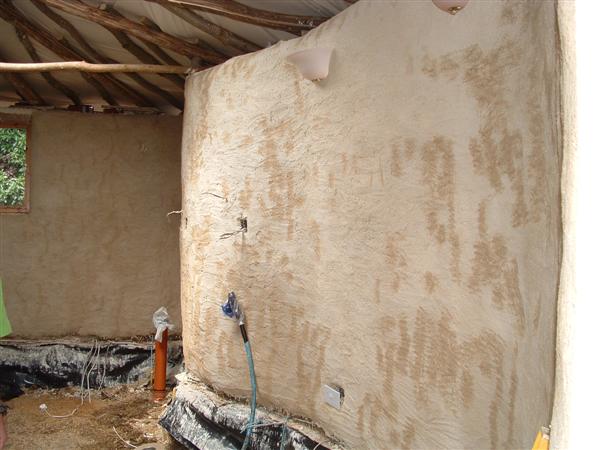
This is how the inside looks now it's had it's final coat of render.
Another shot of that roof now finished from the inside, with central rooflight.

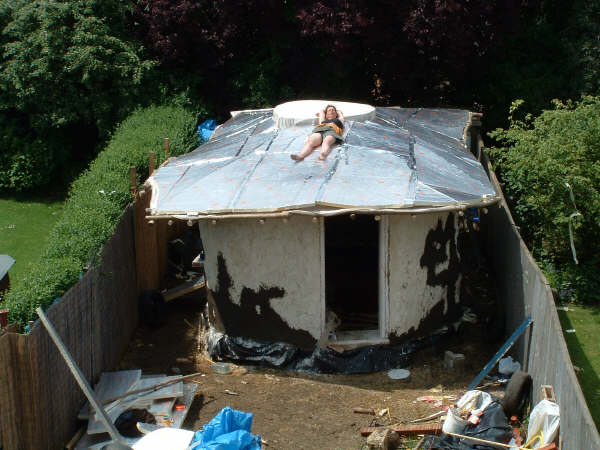
The outside of the roof is covered with waterproof membrane then insulation, a good place to sunbathe says Viv.

Sods of turf are layed all over to create a living roof, also some cobbing to smooth out the dips ready for more lime render.
|